
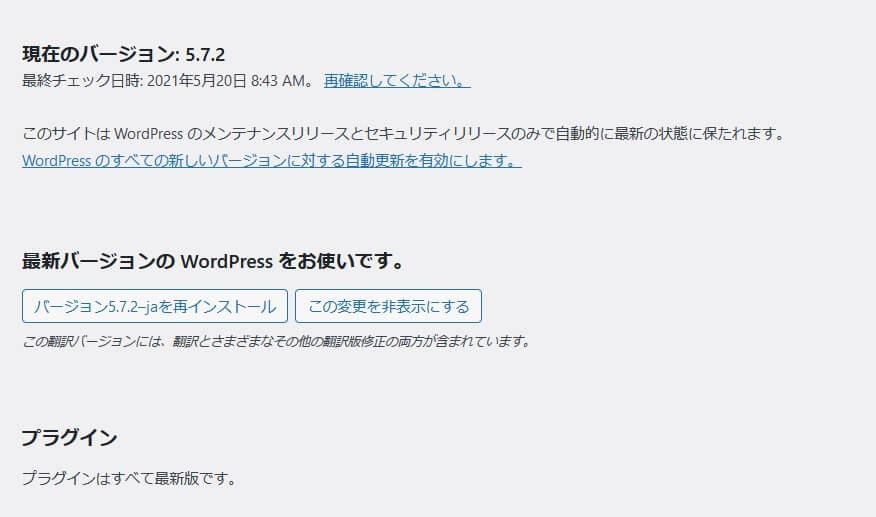
WordPress バージョン3.7 ~ 5.7.1にPHPMailer におけるオブジェクトインジェクション攻撃の可能性がある脆弱性が発見され、WordPressよりバージョン5.7.2がリリースされていましたので、さっそくバージョンアップを実行してみました。
結果から先にお伝えすると、特に問題が起こることなく、すべての動作確認ができ、無事に最新バージョンである5.7.2にアップデートすることができました。
目次
NVDの脆弱性レポート
4月の後半に本件が発表されいる内容ですが、5月18日に一部内容に変更が加えられていますので、周知の方も多いと思いますが、念の為、Wordpressバージョン3.7 ~ 5.7.1のHPMailerに脆弱性が発見された件について、NVDレポートへのリンクを張り付けておきます。
PHPMailerとは
PHPMailerとは、WordpressなどのウェブサーバーからPHPコードを介して、電子メールを送信する為のコードライブラリです。HTMLメールも送ることができるので、多くのウェブサーバー上でPHPMailerが利用されています。
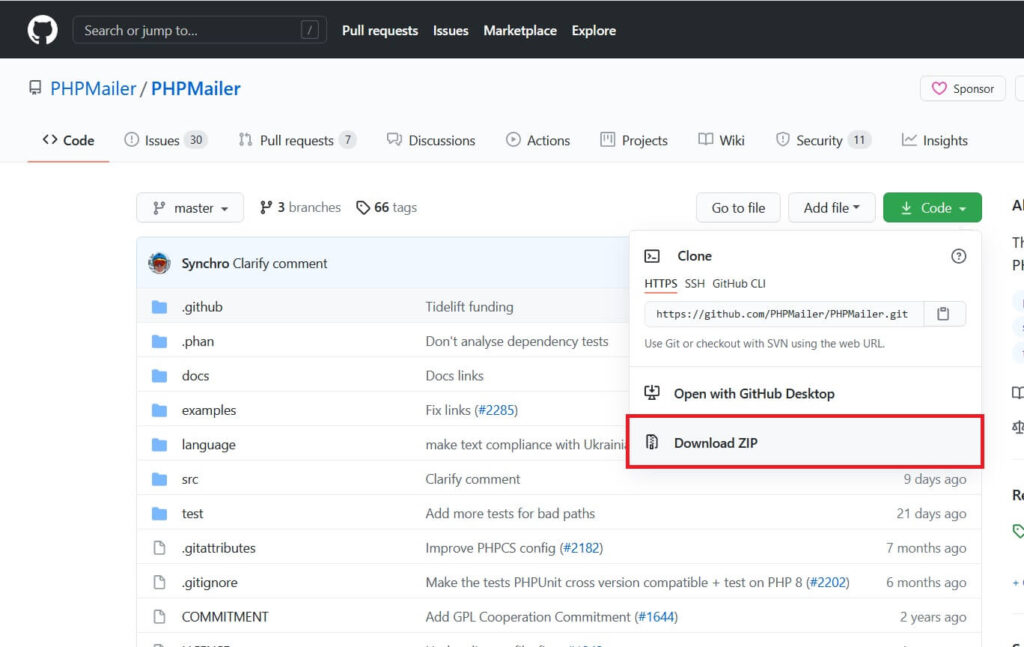
PHPMailerは、composer require コマンドからインストールすることができる他、Githubよりダウンロードすることができます。
PHPMailerをインストールしたら、A Simple Exampleにあるサンプルを使って、PHPMailerからメールが送信できるか、テストしてみましょう!
以下、A Simple Exampleより
<?php
//Import PHPMailer classes into the global namespace
//These must be at the top of your script, not inside a function
use PHPMailer\PHPMailer\PHPMailer;
use PHPMailer\PHPMailer\SMTP;
use PHPMailer\PHPMailer\Exception;

//Load Composer's autoloader
require 'vendor/autoload.php';

//Instantiation and passing `true` enables exceptions
$mail = new PHPMailer(true);

try {
    //Server settings
    $mail->SMTPDebug = SMTP::DEBUG_SERVER;                      //Enable verbose debug output
    $mail->isSMTP();                                            //Send using SMTP
    $mail->Host       = 'smtp.example.com';                     //Set the SMTP server to send through
    $mail->SMTPAuth   = true;                                   //Enable SMTP authentication
    $mail->Username   = 'user@example.com';                     //SMTP username
    $mail->Password   = 'secret';                               //SMTP password
    $mail->SMTPSecure = PHPMailer::ENCRYPTION_STARTTLS;         //Enable TLS encryption; `PHPMailer::ENCRYPTION_SMTPS` encouraged
    $mail->Port       = 587;                                    //TCP port to connect to, use 465 for `PHPMailer::ENCRYPTION_SMTPS` above

    //Recipients
    $mail->setFrom('from@example.com', 'Mailer');
    $mail->addAddress('joe@example.net', 'Joe User');     //Add a recipient
    $mail->addAddress('ellen@example.com');               //Name is optional
    $mail->addReplyTo('info@example.com', 'Information');
    $mail->addCC('cc@example.com');
    $mail->addBCC('bcc@example.com');

    //Attachments
    $mail->addAttachment('/var/tmp/file.tar.gz');         //Add attachments
    $mail->addAttachment('/tmp/image.jpg', 'new.jpg');    //Optional name

    //Content
    $mail->isHTML(true);                                  //Set email format to HTML
    $mail->Subject = 'Here is the subject';
    $mail->Body    = 'This is the HTML message body <b>in bold!</b>';
    $mail->AltBody = 'This is the body in plain text for non-HTML mail clients';

    $mail->send();
    echo 'Message has been sent';
} catch (Exception $e) {
    echo "Message could not be sent. Mailer Error: {$mail->ErrorInfo}";
}
PHPMailer導入における注意点
PHPMailerですが、インストールすれば何の問題もなくすぐに使うことができるという訳には残念ながらいきません。。
日本語でメールを送信した際に、文字化けが発生することもありますし、メールを送信した場合にメールが届かないといった問題が起こることもあります。
そんな時に、いつでもトラブルシューティングができるようにデバッグができるようにする為の準備を整えておくと、トラブルが発生した際でも慌てずにトラブルを解決することができますので、デバッグ環境へのナレッジを軽く押さえておくことをお奨めします。
PHPMailerログをSyslogで出力する
$mail->SMTPDebug = 2;
普段は、0 もしくは、1~3を入れておき、// コメントアウトしておくのが便利でしょう。デバッグのレベルを3もしくは4にセットした場合、アプトプットされる情報が多すぎて、トラブルのポイントを特定するのに多くの時間がかかってしまう場合がありますので、まずは2にセットしておき、それでも特定することが難しいようであれば、2→3、3→4とデバッグレベルを上げていくのがベストです。ほとんどのケースでは2で十分です。
| 0 | デバッグ OFF |
| 1 | クライアントから出力されるメッセージ |
| 2 | 1+サーバからのメッセージも出力 |
| 3 | 2+デバッグ情報を出力 |
| 4 | できる限りの多くの情報を出力 |
PHPMailerのマニュアル
PHPMailerのはマニュアルは以下の場所にありますので、詳しい使い方についてはマニュアルを確認してみましょう。
今日も一日頑張りましょう!